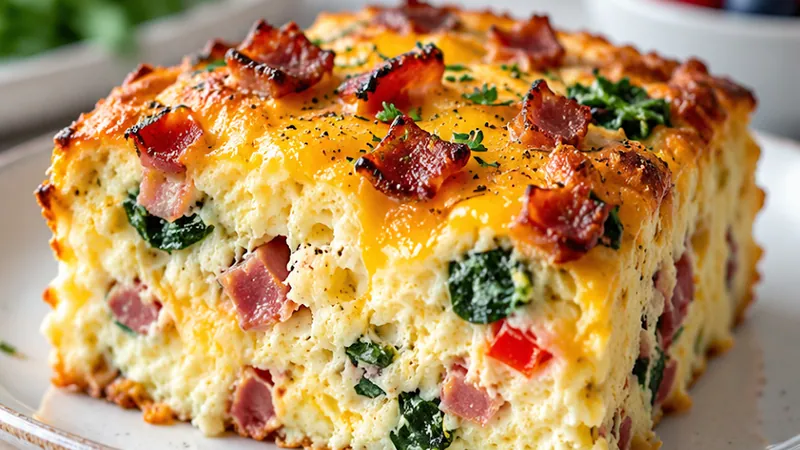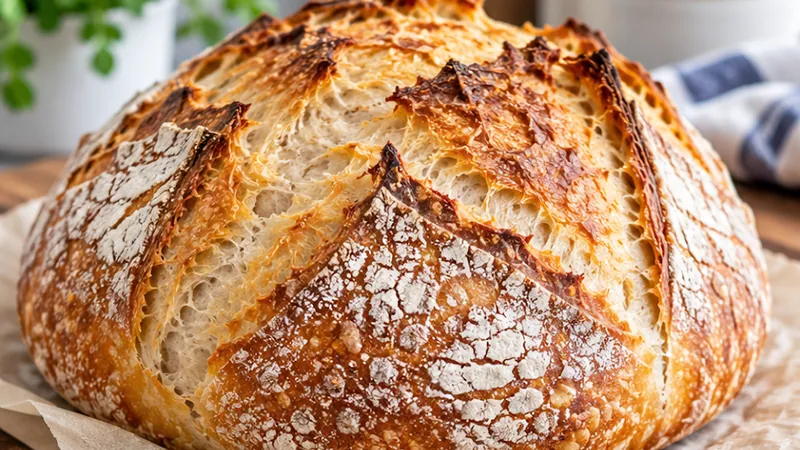
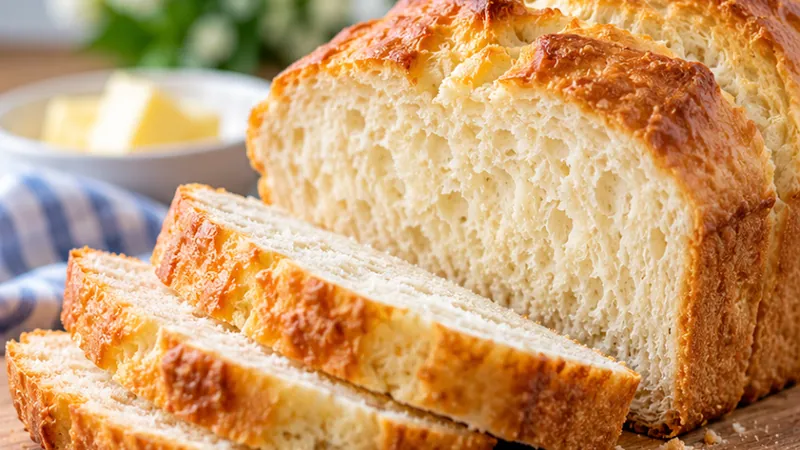
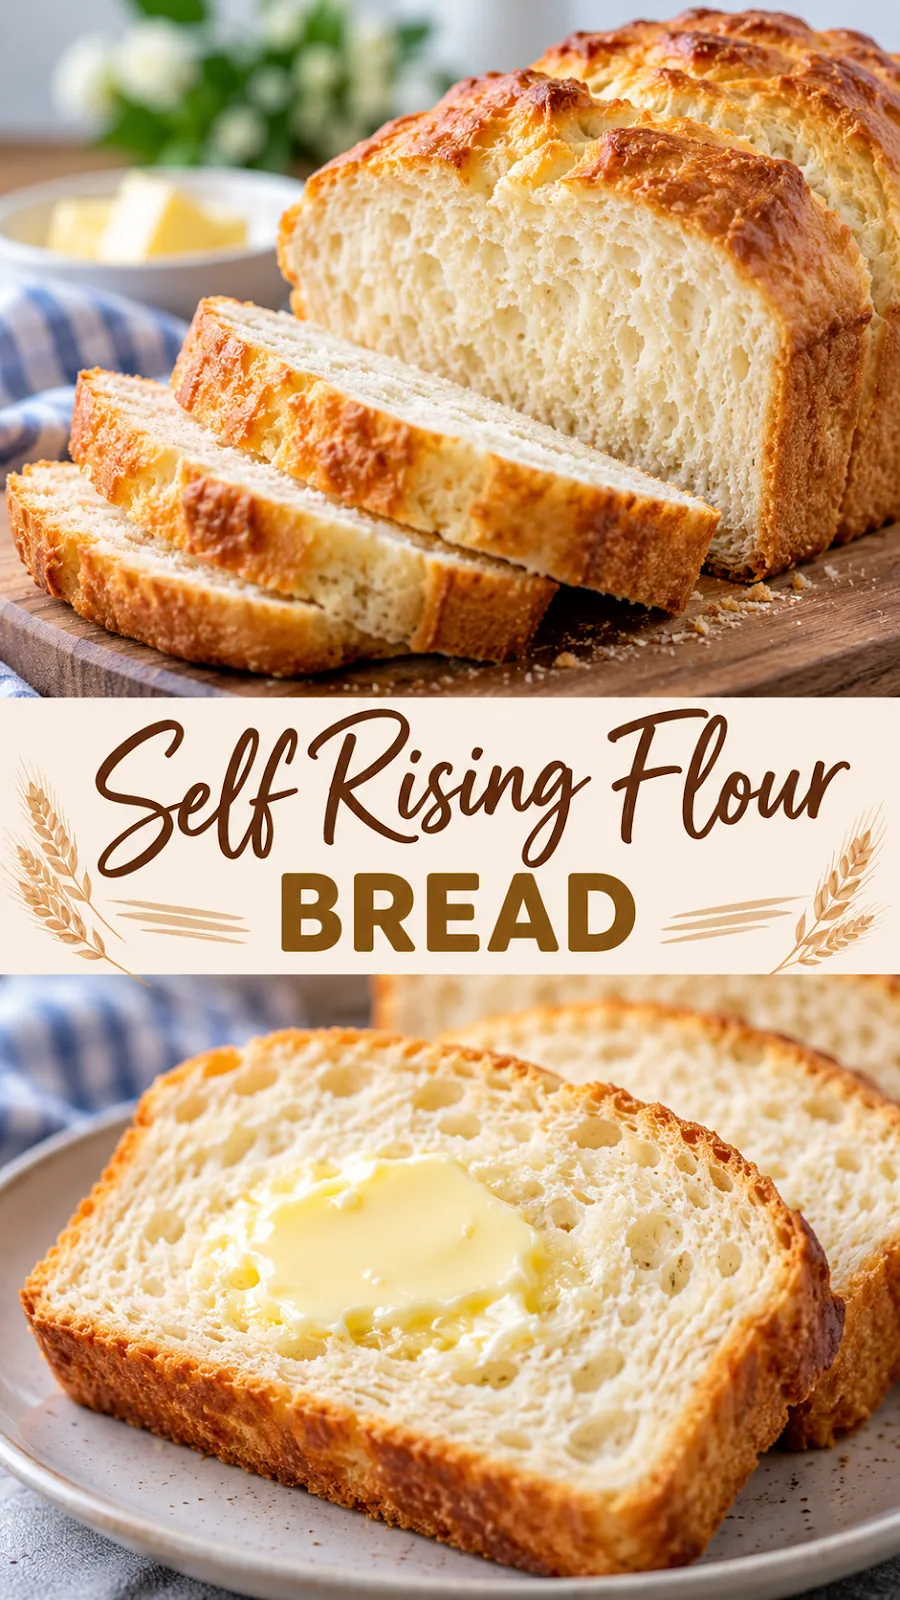
Imagine warm, golden loaves just waiting on the counter, smelling of butter and toasted wheat as the kitchen fills with comfort with every minute they rise
This self-rising flour bread is perfect for weeknight suppers, Sunday brunches, or thoughtful gifts for neighbors because it is dependable, easy, and always turns out soft
 Save
I first baked this recipe on a rainy Sunday and was amazed at how simple it felt to create something so satisfying and shareable with almost no fuss
Self Rising Flour Bread Recipe
Ingredients
Bread
Optional Topping
Instructions
- Activate the yeast
In a small bowl, combine warm milk, sugar, and yeast. Let sit 5 to 10 minutes until frothy and creamy on the surface.
- Whisk dry ingredients
In a large mixing bowl, whisk the self-rising flour and salt together to evenly distribute the leavening.
- Combine wet ingredients
In a separate bowl, beat the eggs and then whisk in the melted butter until smooth and slightly glossy.
- Make the batter
Pour the activated yeast mixture into the dry ingredients, add the beaten eggs and butter, and stir gently until just combined; a few small lumps are okay.
- Let the batter rest
Allow the batter to sit for 5 minutes; this helps the flour fully hydrate and improves the tender crumb.
- Preheat the oven and prepare the pan
Heat your oven to 375°F or 190°C. Grease a 9 by 5 inch loaf pan and line it with parchment paper, leaving an overhang on two sides.
- Bake the bread
Transfer the batter to the prepared pan, smooth the top with a spatula, and bake for 35 to 40 minutes, or until the top is golden brown and a toothpick comes out clean.
- Add optional topping
During the last 2 minutes of baking, brush the top with softened butter and sprinkle with kosher salt or seasoning if using.
- Cool in the pan
Let the bread cool in the pan for 10 minutes to set the structure before lifting it out using the parchment overhang.
- Cool completely before slicing
Place the loaf on a wire rack and cool entirely, ideally for 1 to 2 hours, so the crumb firms up and flavors develop.
Substitutions and variations
- For a dairy free version, use unsweetened almond milk or oat milk in place of milk
- If you do not have self-rising flour, whisk 3 cups all purpose flour with 1 1/2 teaspoons baking powder and 3/4 teaspoon salt
- Replace sugar with honey or maple syrup for a more natural sweetener profile
- Use melted coconut oil in place of butter for a slightly nutty aroma
- Add 1/2 cup finely shredded cheddar to the batter for a savory twist
Chloe's tips
- For a lighter crumb, gently fold the batter instead of stirring vigorously
- Warm the milk in the microwave in 30 second bursts to avoid overheating
- Use a kitchen scale for best accuracy if you have one
- Let the loaf cool fully before storing to prevent gummy texture
How to store it
- Store the fully cooled bread in an airtight container or a zip top bag at room temperature for up to 3 days
- For longer storage, wrap tightly and freeze for up to 3 months; thaw at room temperature or warm gently in the oven
- Refresh day old bread by slicing and toasting lightly in a toaster or under the broiler for a few minutes
Serving suggestions
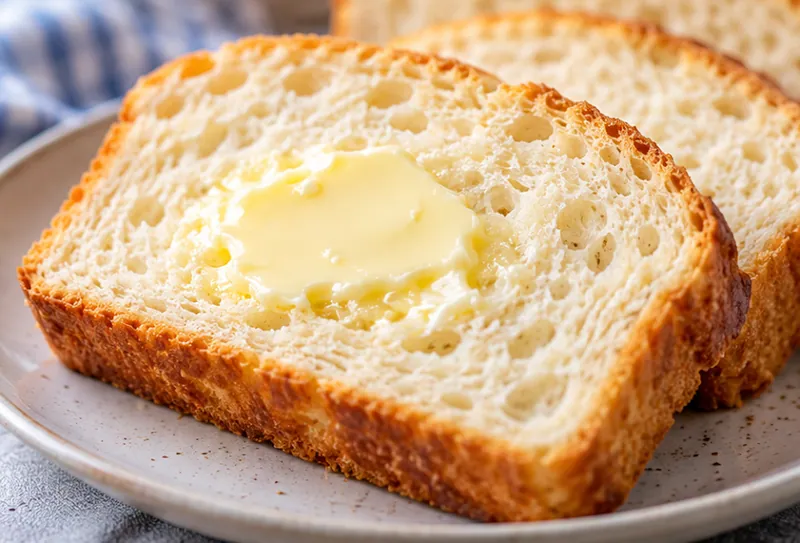
Slice this tender loaf and serve it however you like, from simple butter to your favorite jam or hearty soups
- Spread with classic salted butter for a simple start
- Top with strawberry jam or blackberry preserves for a sweet contrast
- Serve alongside roasted chicken or hearty vegetable soup for a balanced meal
- Toast thick slices for a rustic, crunchy breakfast treat
Frequently asked questions
Why did my bread turn out dense?
Dense bread can happen if the batter was overmixed, the oven temperature was too low, or the loaf cooled before fully setting. Mix just until combined, verify your oven temperature with a thermometer, and let the bread cool fully on a rack before slicing.
Can I use self-rising flour in a gluten free recipe?
Standard self-rising flour contains wheat gluten, so it is not suitable for gluten free baking. Use a gluten free flour blend designed for that purpose and add baking powder and salt separately if your recipe calls for it.
How do I know when the bread is fully baked?
The bread is done when the top is deep golden brown, sounds hollow when tapped, and a digital thermometer inserted into the center registers around 200 to 210°F.
Can I make this in a cast iron skillet?
Yes, you can pour the batter into a preheated cast iron skillet greased with butter and bake until golden for a rustic, crunchy crust.
Let's get cooking!
Enjoy your homemade self-rising flour bread fresh from the oven, and feel proud knowing you created something warm, comforting, and truly delicious with just simple everyday ingredients.